When working on a data science project, many skills might be required from theoretical to technical ones.
In this article, I will mainly focus on some of the most important tools to have and work with, tools which allow better and cleaner coding and faster way of collaboration.
The summary is as follows:
- Visual Studio Code
- Bash commands
- Virtual environment
- Unit Testing
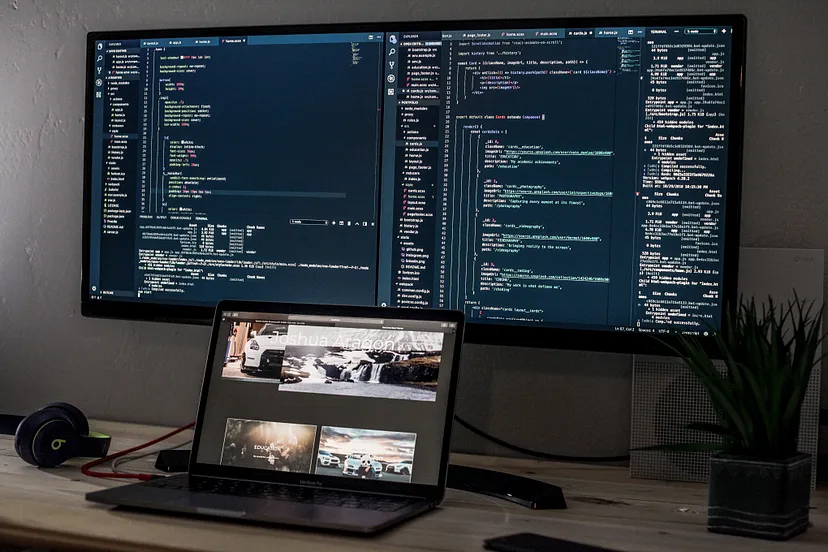
Visual Studio Code
The daily tasks of a data scientist are mainly about coding. For this reason, it is important to have a nice editor capable of encapsuling many other tools. VS code does that! It is a tool developed by Microsoft and considered to be one of the most used editors. It allows the run, edit and debug of your code plus many other useful extensions such as:
- Python: “A Visual Studio Code extension with rich support for the Python language, including features such as IntelliSense, linting, debugging, code navigation, code formatting, Jupyter notebook support, refactoring, variable explorer, test explorer, snippets, and more!”
- Gitlens : “GitLens supercharges the Git capabilities built into Visual Studio Code. It helps you to visualize code authorship at a glance via Git blame annotations and code lens, seamlessly navigate and explore Git repositories, gain valuable insights via powerful comparison commands, and so much more.”
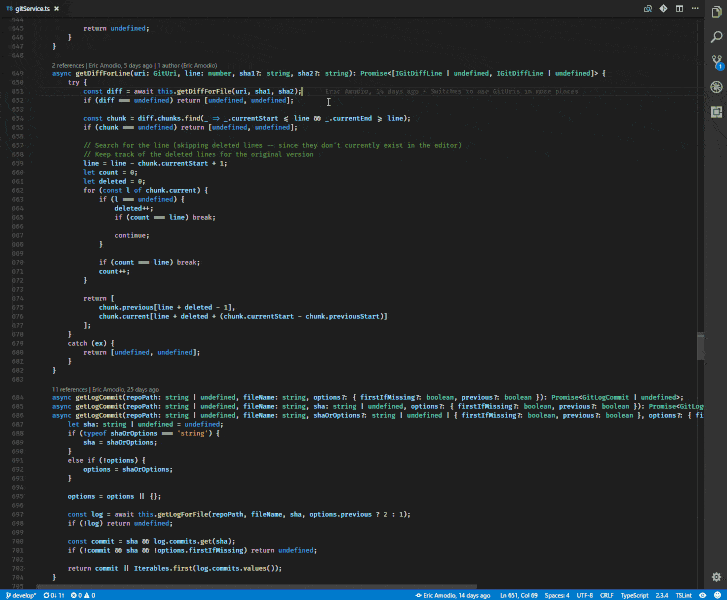
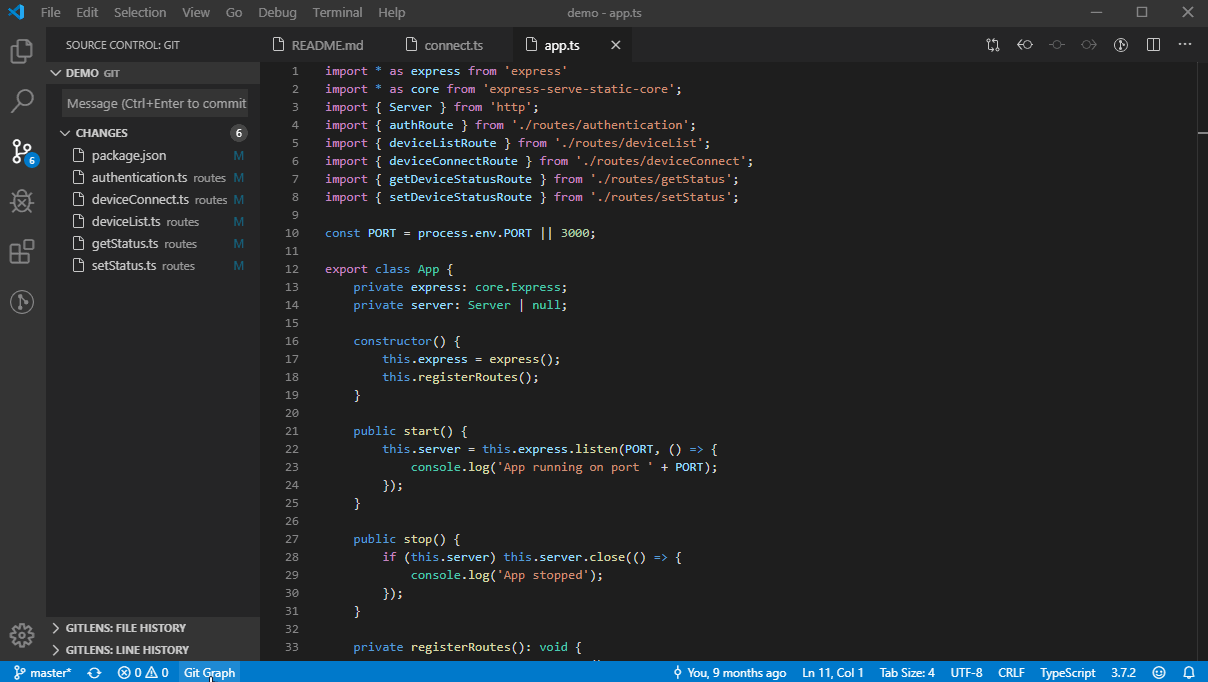
- Git Graph: allows visualizing the graph of your git branches and carrying-out git actions using the same graph!
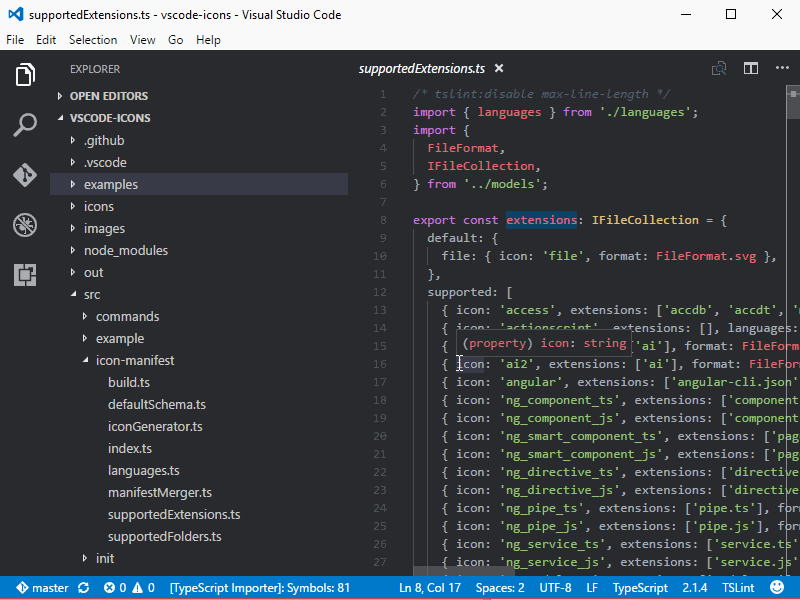
- Vscode-icons: Brings icons to your Visual Studio Code for better representation and visualization
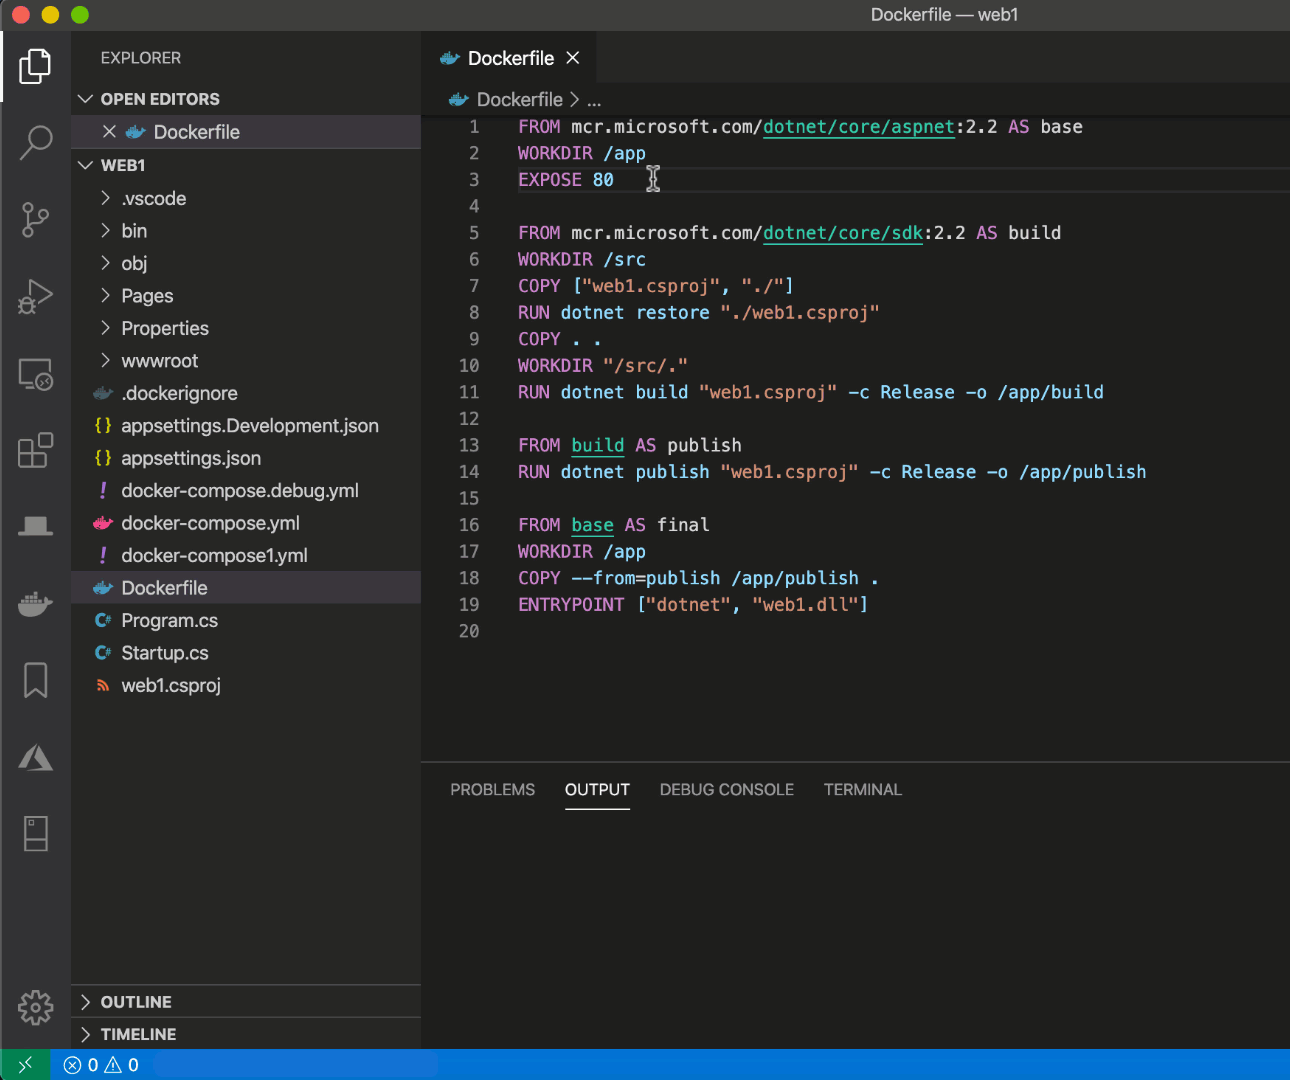
- Docker: “The Docker extension makes it easy to build, manage, and deploy containerized applications from Visual Studio Code. It also provides one-click debugging of Node.js, Python, and .NET Core inside a container.” If you are unfamiliar with docker, don’t worry about this part.
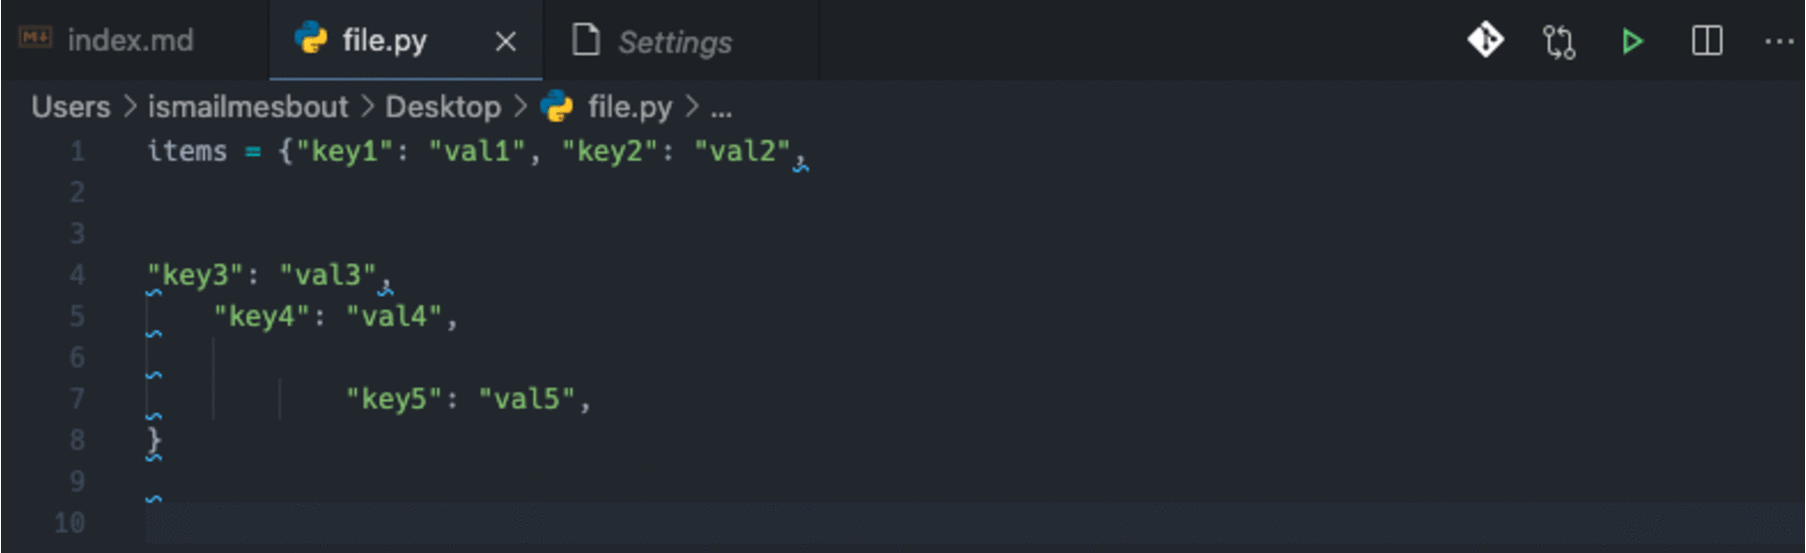
- Black: a python formatting library which is installed by default (if not use pip) and allows to automatically format your code on save. To do so, you can add the following lines to the “setting.json” file of VS code
"python.formatting.provider": "black",
"editor.formatOnSave": true
Here is an example of Black’s code formatting:
- Better comments: when writing code, you usually add comments to detail your scripts and explain them. This extension helps you make it more friendly and more understandable. You can use for instance the sign “!” to make the comments red and hence better attract your attention.
Here is an example of the highlight generated by the extension:

For more info, please visit the official website of VS code.
Bash commands
Bash commands are very useful to quickly navigate into your operating system and are efficient for handling files. They also come to light when working on a virtual machine with no graphic interface, environment in the cloud for instance.
When working with bash commands, it is important to have a nice terminal capable of visually encapsulating many elements. Below are two consoles which I recommend:
- Mac: Iterm 2, offers a very nice visual terminal on which you can find information about the current working directory, git, its branches(project dev) and its status (yellow: waiting for commit) and also the virtual environment on which you are working(project_env).

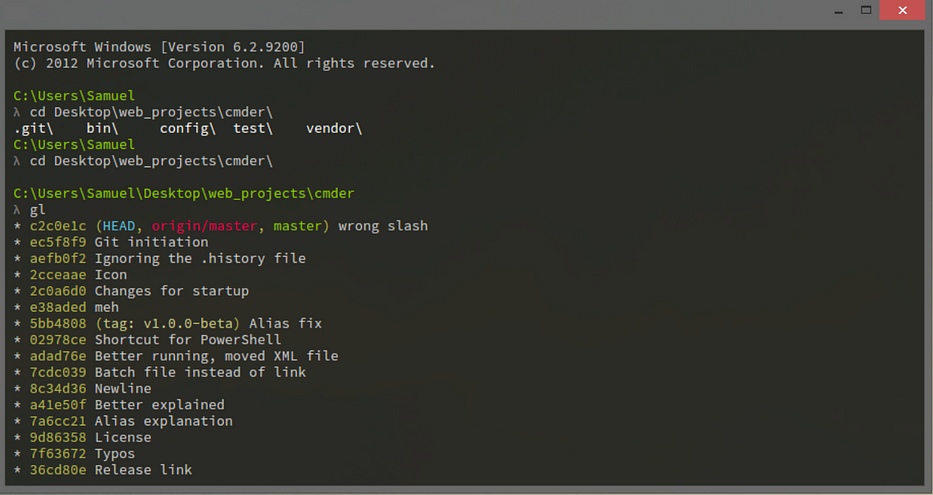
- Windows: Cmder, is a more enhanced terminal that also allows running linux commands which are very useful in some cases.
Do not also hesitate to check Powerlevel10K, it is a cool feature to have on your terminal and which enables a better style and a more efficient and flexible way of working.
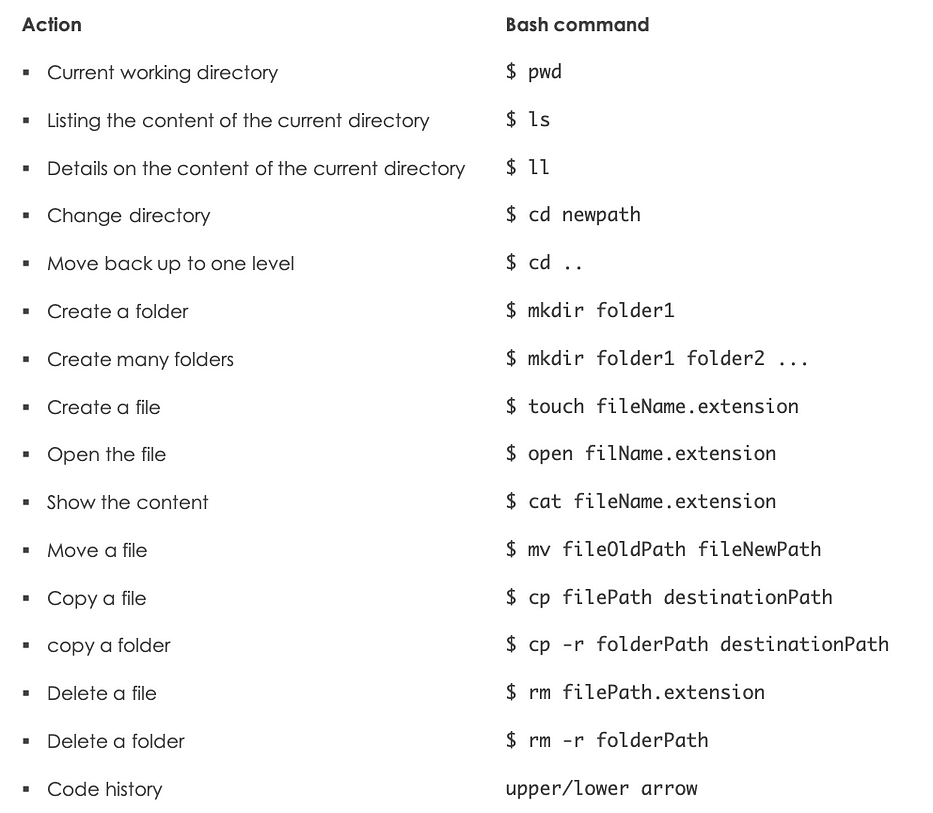
Here is a brief list of the most used command-lines (on macOS):
After installing your terminal, it is possible to work with it within VS Code which makes your work more efficient.
Virtual environment
When working on a project, you, very often, want it to be reproducible in other machines and clouds. Since the versions of the used packages keep changing, it is important to set a private or virtualenvironment in which you can develop your project and save the versions of the packages. virtualenv is a python library which allows you to carried out the isolation and versioning discussed above as follows (You can also use anaconda):
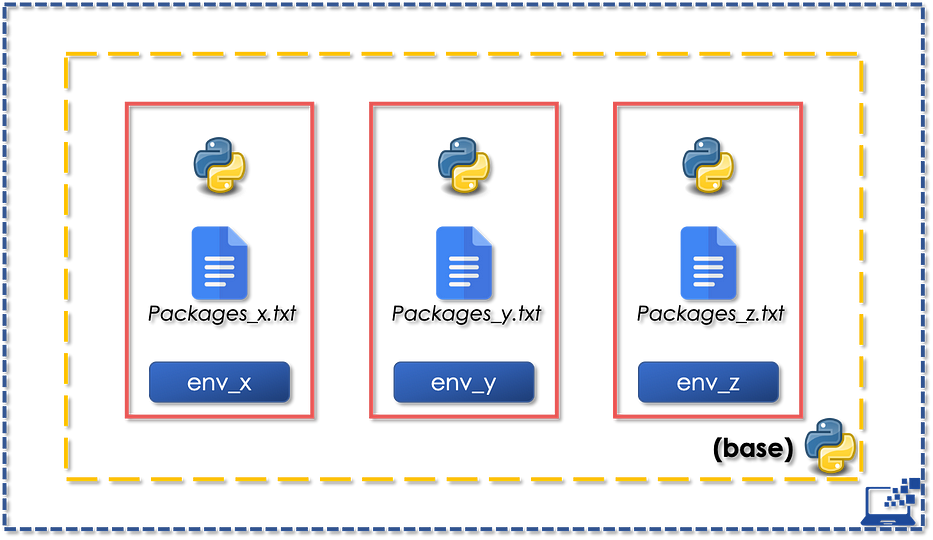
When installing python for the first time on your laptop, its default environment is called “base” or “global”. It is worth mentioning that the created virtual environments do not communicate with base, which means that they are initially empty!
Create and activate a virtual environment
#PIP
cd dossier project
pip install virtualenv # if not done before
virtualenv <env>
source <env>/bin/activate

#Anaconda
cd dossier project
conda create -n <env>
conda activate <env>
Install packages pip install <packageName>/ conda install <packageName> progressively when needed and once your project is stabilized:
#PIP
pip freeze > packages.txt/

#Anacondaconda env export > packages.yml
if you clone a project with a “packages.txt” or “environment.yml” file in order to run it, you can:
- First create and activate a new virtual environment
- Run the following command to install all the necessary packages in it from the given file :
#PIP
pip install -r packages.txt/

#Anaconda
conda env create -f environment.yml #No need to create an env before
VS Code & virtual environments
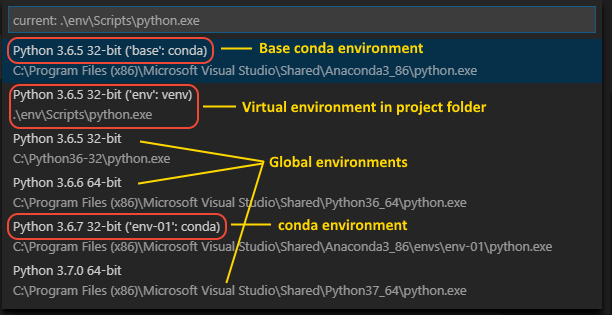
When creating a virtual environment, it’s important to choose it as an interpreter. VS Code is capable of detecting it and will suggest it for use, otherwise you can choose it as follows:
- In settings, click on
Command Palette - Type:
Python: Select Interpreter - Choose it from the list:
I personally prefer to work with Virtualenv and pip instead of Conda because Virtualenv allows to install only the needed packages and optimizes the memory use.
Please visit the website of virtualenv for more info.
Unit Testing
Unit testing is a software testing technic that runs a sequence of individual tests which verify the good functioning of a developed module or a part of it. These tests come to light especially when adopting a test-driven development approach in your project. It consists on first writing the tests that your script should pass before starting its development.
In python, you can use unit testing via the framework pytest which is very well convenient for small and big projects. Suppose, we are developing a function f which for each set of values (var1,var2,...), it should return an expected_value.
After writing the tests that should be passed we develop the function and then write a script with the following scheme:
#Import packages
import pytest
import ...

#Create function
def f(var1, var2,...):
	return ...

#Unit tests
@pytest.mark.parametrize(
	"var1, var2,...,expected_result",
	[
		(val1_1, val2_1,...,expected_result_1),
		(val1_2, val2_2,...,expected_result_2),
		...
	]
)
def test_func(var1, var2,..., expected_result):
	assert f(var1,var2,...)==expected_result
The script above will test all the different tests (var1_i,var2_i,…) and check if they match their corresponding values expected_value_i one by one and that by running the following command-line:
- Example: Power function.
For the sake of illustration, we will consider a simple function: the power of a number. The unit testing file is the following:
#Import packages
import pytest
import ...

#Create function
def f(var1, var2,...):
	return ...

#Unit tests
@pytest.mark.parametrize(
	"var1, var2,...,expected_result",
	[
		(val1_1, val2_1,...,expected_result_1),
		(val1_2, val2_2,...,expected_result_2),
		...
	]
)
def test_func(var1, var2,..., expected_result):
	assert f(var1,var2,...)==expected_result
We run the following command-line:
python -m pytest -v --tb=line --disable-warnings pathtotestfile.py::functionWe get the following results:
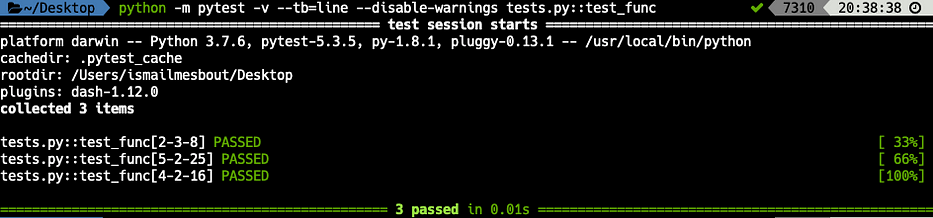
The three tests have passed. The more tests we have, the more stable the code becomes!
Conclusion
As a data scientist, it is very important to master these technologies in order to make your work more efficient and scalable. Tools like git are indispensable and make collaboration powerful and straight-forward.
I further note that some of those tools are a personal choice and can be replaced which can also do the job!
#TEAMVSCODE #TEAMITERM2